
How to DIY the Antique Paint Look
May 28, 2025
Essential Tips for Selecting the Perfect Paint Color
June 12, 2025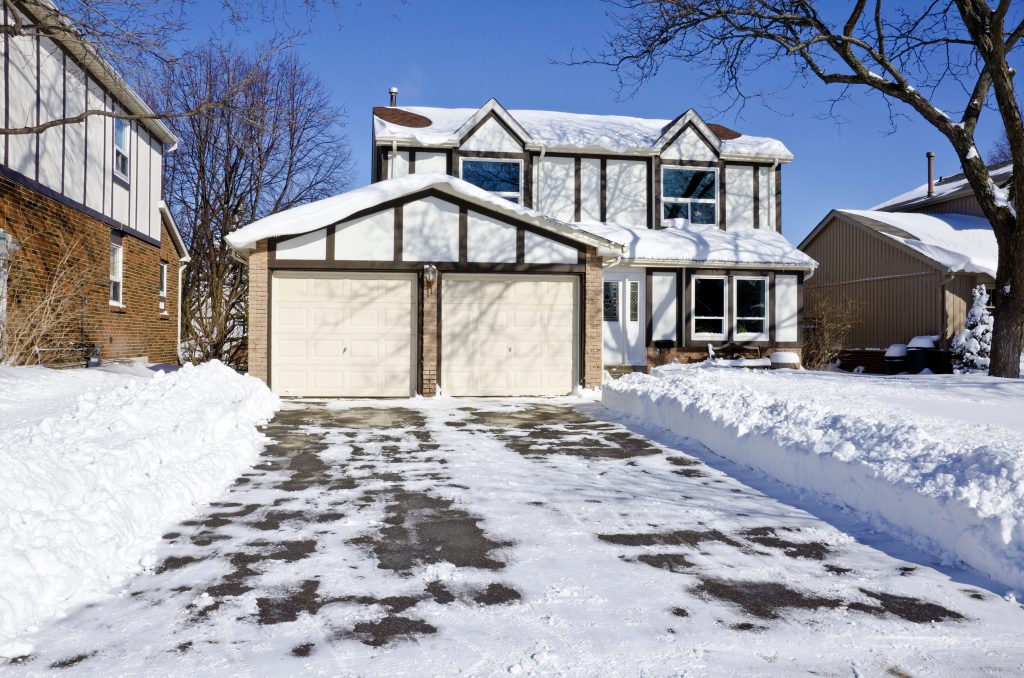
It’s crucial to take the right precautions when painting your home during the winter. While colder temperatures can present challenges, you can still achieve excellent results by following proper techniques. Ensure you choose low-temperature paints and manage humidity levels to avoid complications. Additionally, insulating your workspace helps maintain a consistent temperature, allowing your paint to adhere correctly. Keep these tips in mind to transform your space while staying safe and efficient during the winter months.
Key Takeaways:
- Temperature Matters: Ensure the temperature is at least 50°F (10°C) for optimal paint application and drying. Cold weather can affect paint adhesion and curing time.
- Choose the Right Paint: Use high-quality, low-VOC or zero-VOC paints specifically designed for colder temperatures to minimize odors and achieve a smoother finish.
- Prep Surfaces Thoroughly: Clean and prepare surfaces properly to prevent moisture issues, which can lead to peeling or bubbling paint later on.
Preparing Your Home for Winter Painting
Assessing Interior and Exterior Conditions
Start your winter painting project by thoroughly assessing both interior and exterior surfaces. Look for any necessary repairs, such as peeling paint, cracks, or water damage. These conditions can worsen in colder weather if not addressed beforehand. Ensure that surfaces are clean and dry, as moisture can impede paint adhesion, leading to unsatisfactory results. Taking the time to make these assessments will set you up for a more successful painting experience.
Ensuring Proper Ventilation and Temperature Control
Maintaining adequate ventilation and controlling temperature in your home is imperative during winter painting projects. Aim for room temperatures between 50°F and 85°F, as most paints perform best within this range. Open windows periodically and use fans to circulate air, helping to expedite the drying process and prevent the build-up of paint fumes. Utilizing space heaters can help maintain optimal conditions, but be cautious to avoid overheating any surfaces.
Temperature Guidelines for Winter Painting
| Optimal Temperature Range | 50°F – 85°F |
| Minimum Surface Temperature | Must be above 35°F |
Maintain a consistent temperature by using heaters or adjusting your thermostat as needed. You might consider a combination of heating options, such as radiant heaters for specific areas, while keeping the rest of the home at a steady temperature. Additionally, check paint can labels for specific temperature recommendations tailored to the product you’re using, as some paints are formulated to withstand lower temperatures than others. This attention to detail will help ensure your paint adheres properly and cures effectively.
Ventilation and Airflow Tips
| Open Windows | Air out strong fumes |
| Use Exhaust Fans | Enhances air circulation |
Choosing the Right Paint and Materials
Selecting Winter-Appropriate Paints
Opt for paint products specifically designed for low temperatures—these can maintain optimal performance down to 35°F. Look for acrylic latex paints, as they exhibit better flexibility and adhesion in colder conditions. Brands often label their winter-grade paints, ensuring that you can make informed choices that prevent peeling or bubbling during the colder months.
Understanding the Impact of Paint Compatibility and Finish
Selecting the right finish can significantly affect the durability and appearance of your paint job. For instance, eggshell or satin finishes often work better in areas with higher traffic, providing more durability than flat finishes. Additionally, ensure that the base and top coats are compatible, especially if you are using different brands. Mismatched products can lead to unexpected results, such as poor adhesion or discoloration.
Different surfaces require paint compatibility that can withstand temperature fluctuations and humidity levels. For instance, if you are painting over previously painted areas, consider using a bonding primer to enhance adherence. Furthermore, the sheen you choose impacts not just aesthetics but also longevity; semi-gloss and gloss finishes are often easier to clean, making them ideal for kitchens and bathrooms where durability is important. Always consult product specifications to understand how your chosen paint interacts with existing materials for optimal results.
Essential Tools and Equipment for Cold-Weather Projects
Must-Have Painting Supplies for Winter
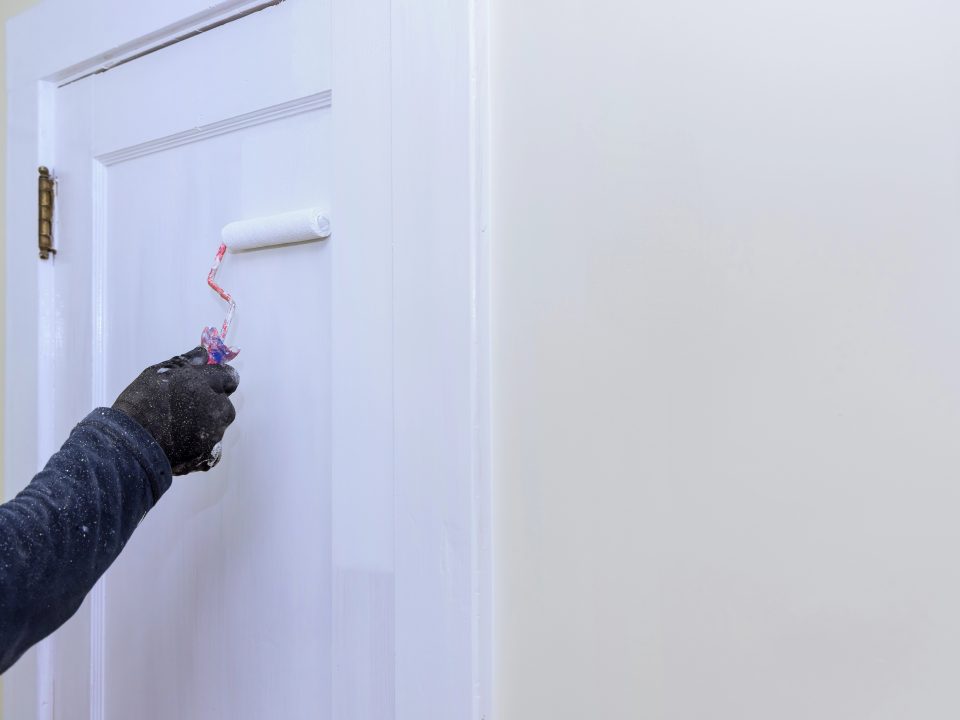
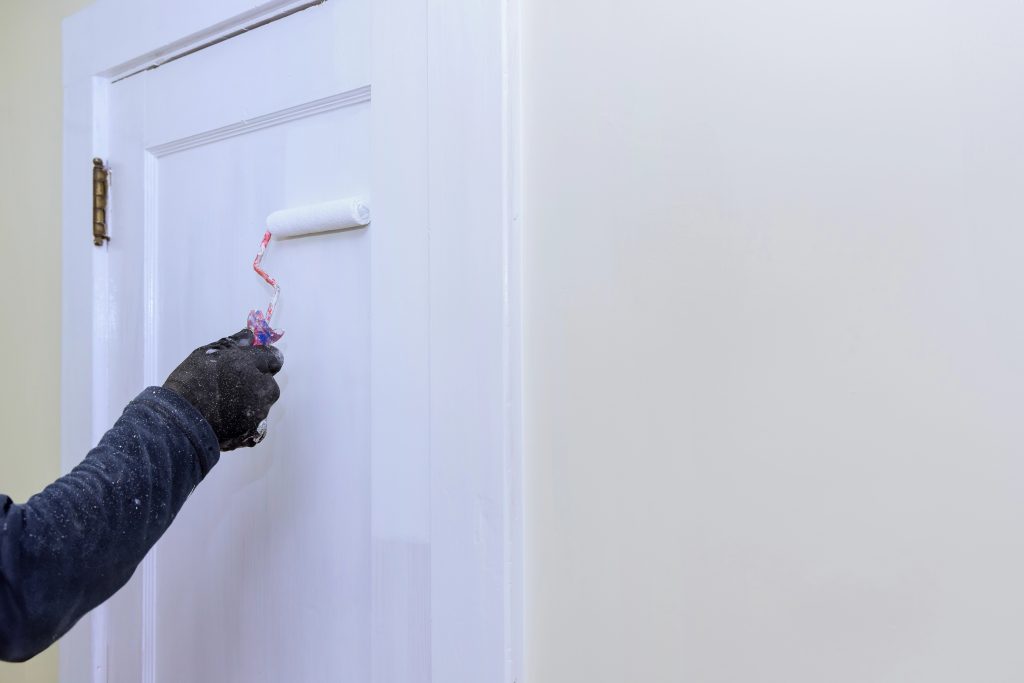
Gathering the right supplies is vital for successful winter painting. Choose high-quality, low-temperature paint formulated to withstand the chill, ensuring proper adhesion and durability. Use double-coverage primers that help seal surfaces effectively and prevent peeling. A good set of brushes and rollers with synthetic bristles is necessary for even application. Don’t forget drop cloths and painter’s tape to protect your surfaces from spills and ensure clean lines.
Innovative Gadgets to Enhance Efficiency
Investing in innovative tools can significantly boost your productivity during winter painting projects. Consider using a paint sprayer designed for cold weather, as these can deliver a smooth finish quickly. Heated paint trays keep your paints at an optimal temperature, reducing viscosity and improving application. Additionally, portable infrared heaters can maintain a comfortable working environment in enclosed spaces, helping the paint cure properly.
Tools like paint sprayers cut down on application time, allowing you to cover large areas efficiently, while heated paint trays keep your materials at a consistent temperature, preventing thickening that can lead to uneven applications. Infrared heaters not only warm spaces but also create a controlled environment where the paint can adhere and dry better, significantly improving your overall results. With these innovative gadgets, you’ll find winter painting projects not only doable but even enjoyable.
Mastering Application Techniques in Low Temperatures
| Technique | Description |
|---|---|
| Brush Techniques | Use high-quality brushes designed for cold weather to maintain a smooth finish. Adjust your stroke technique to work with the thicker consistency of paint in lower temperatures. |
| Roller Techniques | Choose rollers with longer naps to accommodate thicker paint. Don’t overload your roller; instead, work in smaller sections to ensure even application. |
| Spraying | Opt for sprayers specifically designed for cold-weather use. Ensure paint is heated to avoid clogging and uneven coverage. |
| Back Brushing | For exterior surfaces, back brush immediately after spraying to push paint into any cracks or crevices, providing an even coat. |
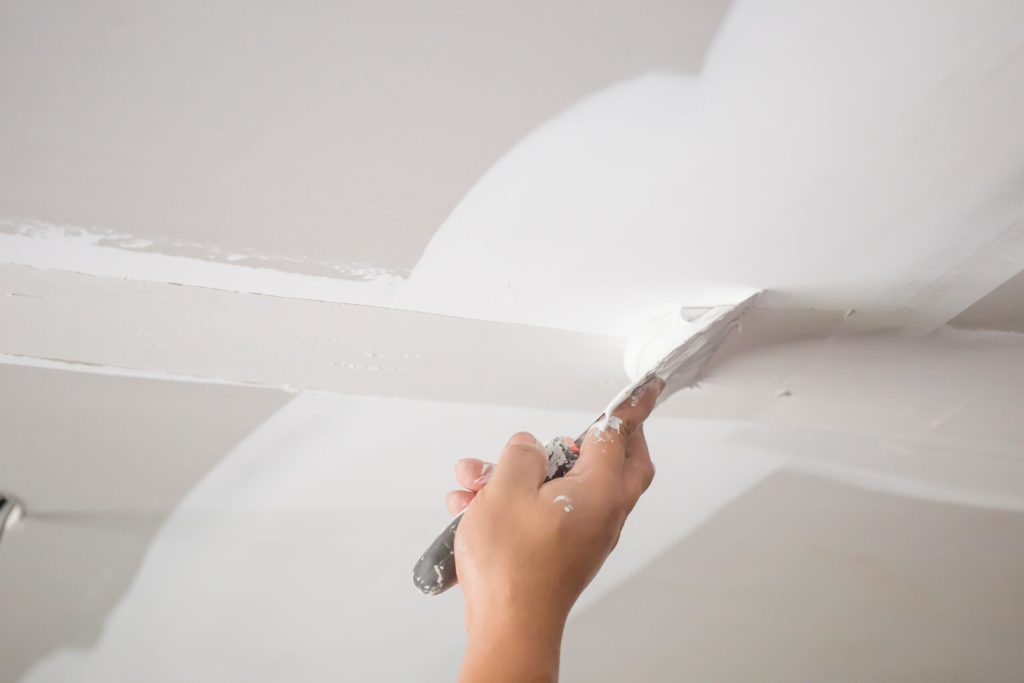
Employing Effective Brush and Roller Techniques
Effective application techniques become important in colder temperatures. Fine-tune your brushwork by using synthetic bristles designed to handle thicker paint that may not flow as easily. When using a roller, opt for a longer nap—this will help in capturing paint on rough surfaces while preventing an uneven finish.
Timing Your Paint Application Wisely
Choosing the right time to apply paint plays a significant role in achieving optimal results during winter. Aim to paint when daytime temperatures are above 50°F or when a warm front is expected to keep conditions milder for a longer period. This ensures proper drying while avoiding the detrimental effects of low temperatures on adhesion and finish quality.
Painting in low temperatures means you need to be cautious about timing. Take advantage of the sun’s natural warmth; applying paint during midday helps, as temperatures often rise slightly around lunchtime. Additionally, check the weather forecast for several hours after application; this allows paint to cure properly before temperatures drop again at night, safeguarding the quality of your work.
Overcoming Common Winter Painting Challenges
Dealing with Humidity and Moisture Issues
Winter brings unique humidity challenges that can hinder your painting projects. High moisture levels can make paint take longer to dry, leading to issues such as streaks and bubbles. To tackle this, utilize a dehumidifier in your workspace to maintain optimal humidity levels (ideally between 40-50%). Also, opt for moisture-resistant paints that are specifically designed to combat these winter conditions.
Avoiding Frostbite: Keeping Paint from Freezing
Paint freezing can wreak havoc on your project, degrading the paint’s quality and performance. Maintaining your paint at a temperature above 35°F (1.6°C) is vital. Store your paints indoors, ideally in a heated area, and bring them out only when you are ready to use them. Consider using heat lamps or heater fans to warm your workspace before starting as well.
To extend the usability of your paint in freezing conditions, take extra precautions. If you’re using a water-based paint, ensure it’s not exposed to low temperatures for extended periods. Paint can become thick and unworkable, leading to application issues. If you absolutely must work with paint that’s been exposed to the cold, allow it to gradually warm up to room temperature before using it, stirring thoroughly to restore consistency.
Timing Your Painting Projects for Maximum Effectiveness
Understanding Weather Patterns and Their Influence
Taking note of local weather forecasts is crucial when planning your winter painting projects. Temperature fluctuations can significantly affect the drying times and adhesion of your paint, especially in cold climates. Ideally, target days when temperatures will remain above 50°F (10°C) for the duration of your work. Low humidity levels can also enhance the effectiveness of the paint, so consider scheduling your projects during dry spells to avoid moisture-related issues.
Crafting a Schedule Around Winter’s Short Days
With winter’s shorter daylight hours, effective time management becomes crucial for completing your painting projects. Aim to start painting during the day to take advantage of natural light. By planning your work around the peak daytime hours, you’ll ensure better visibility and improve your overall efficiency. A solid painting schedule can help you maximize your time and resources during the season’s limited hours.
Consider breaking your workload into manageable segments that fit within the daylight hours. For instance, focus on preparatory tasks such as taping and priming in the morning when the sun is out, and reserve the afternoon for the actual painting. This approach not only maximizes your use of daylight but also allows for optimal drying conditions before temperatures drop at night. Keeping track of local sunset times using a calendar or app can help you stay organized and on track. Planning carefully ensures you complete your projects efficiently while enhancing the quality of your work.
Safety Precautions to Keep in Mind
Protecting Yourself and Your Space
Before stepping into any painting project, ensure you’re equipped with appropriate personal protective equipment (PPE) such as gloves, goggles, and a mask to shield yourself from fumes and dust. Also, cover your floors and furniture with drop cloths to prevent any paint splatters that can lead to damaging your belongings. Proper ventilation is imperative, especially in winter months when windows are often closed. Open a window or use a fan to circulate air while you work.
Mitigating Risks Associated with Paint and Cold
Low temperatures can affect both the drying and application of paint, potentially leading to uneven finishes or extended drying times. Opt for paint designed for low temperatures, as it can adhere and cure properly despite the chill. Furthermore, maintain a stable room temperature while painting, ideally between 50°F and 85°F, to promote optimal paint performance and durability.
Using paint that’s appropriate for cold conditions makes a significant difference in your project’s outcome. Many manufacturers offer latex paints formulated to withstand colder temperatures, ensuring they dry effectively and provide a lasting finish. Additionally, letting your paint acclimate to the room temperature before use can also combat issues caused by the cold. Be mindful of tracking paint’s drying progress, checking for any signs of freeze damage, which can manifest as blushing or poor adhesion. Keeping your workspace warm and your materials at the right temperature will set the stage for a successful winter painting endeavor.
Maintaining Your Freshly Painted Surfaces in Winter
Winter Care Tips for Longevity
Keeping your newly painted surfaces in top shape throughout winter helps preserve their aesthetics and durability. To achieve this, ensure your home is properly heated, maintaining an environment with low humidity levels. Regularly inspect your walls for any signs of peeling or cracking, and promptly address any issues that arise. Additionally, use gentle cleaning methods, avoiding harsh chemicals, which can damage the paint finish. Finally, don’t forget to reapply touch-ups as needed to keep your paint looking fresh and new. Any small maintenance now can save you from larger repairs later.
Recognizing When Repainting Is Necessary
Knowing when it’s time to repaint can save you time and money in the long run. Look for signs like noticeable fading, cracks, or peeling, which could indicate that the paint film is compromised. In general, a well-maintained exterior paint job may last between 5 to 10 years, while interiors can often last longer. If you find that your walls have stains that cleaning cannot remove or the color appears dull and lifeless, it might be time for a refresh. Regular checks not only enhance aesthetics but also provide a protective barrier for your surfaces.
To wrap up
Winter can be the perfect time to refresh your home with a new coat of paint, but it does come with its challenges. By following these tips, you can ensure a smooth and successful project that brightens your home even during the coldest months. If you’re looking for professional expertise to make your vision a reality, the team at Frederick Painting is here to help. Contact us today to schedule your winter painting project and see the difference expert care can make. Let’s work together to bring warmth and beauty to your home this season!
Q: Can I paint my home’s exterior during winter?
A: Yes, you can paint the exterior of your home during winter, but there are several factors to consider. First, the temperature should ideally be above 35°F (1°C) for the paint to adhere properly and cure effectively. Additionally, consider using paints formulated for lower temperatures, as they are formulated to work in cooler conditions. Check the manufacturer’s guidelines for the specific paint you are using, as they will provide detailed information on the temperature range for optimal application.
Q: What are the best types of paint to use in winter?
A: When painting in winter, it’s advisable to choose paints specifically designed for low temperatures, such as latex or acrylic paints that can tolerate cooler conditions. Look for options labeled as ‘winter-grade’ or ‘low-temperature’ paints. These products typically contain additives that enhance their performance in these conditions, such as improved drying times and better adhesion. Always consult the product specifications to ensure the paint meets your winter painting needs.
Q: How can I ensure proper drying and curing of paint applied in winter?
A: To ensure proper drying and curing of paint during winter, it is important to select a day with optimal weather conditions, avoiding high humidity and strong winds. You may also want to use space heaters or heat lamps, if possible, to maintain a consistent temperature in the area being painted. Additionally, allow for extended drying times as colder temperatures can slow down the curing process. Keep windows and doors closed in the painted area to maintain warmth, and consider providing additional ventilation if needed once the paint is dry to the touch, to aid in the curing process.

Shawn Zimmerman started painting in the summer of 1991, the year before he graduated high school. Shawn decided to pursue his career in the family business and continued to develop his skills in the trade while also developing the necessary skills to manage the business. Shawn enjoys being outdoors, canoeing, camping, hiking, hunting, fishing and spending time with family.

