Wallpaper Installation in Frederick, MD: What to Know Before You Hang
September 14, 2026
Choosing the Right Wallpaper for Every Room in Your Frederick Home
September 21, 2026
Ask any professional what separates a great paint job from a sloppy one, and they’ll tell you the same thing: it’s the prep, not the paint. Skipping steps to get to the fun part is the fastest way to end up with drips, uneven coverage, and paint where it shouldn’t be. This checklist walks you through exactly how to prepare a room for painting so your interior project goes smoothly and the finish looks professional.
Why Prep Work Matters So Much
Paint is only as good as the surface beneath it. A clean, smooth, well-protected room lets the paint go on evenly, bond properly, and last for years. Rushing prep leads to peeling, visible patches, and hours spent scrubbing paint off floors and fixtures. The truth most homeowners discover the hard way: good prep takes longer than the painting itself—and it’s worth every minute.
Step 1: Clear and Protect the Room
Start by getting everything out of the way.
- Remove what you can. Take small furniture, décor, and wall hangings out of the room entirely.
- Move furniture for painting. Cluster larger pieces in the center and cover them with plastic.
- Protect the floor. Lay canvas or heavy drop cloths over the entire floor, not just the middle.
- Take down hardware. Remove outlet and switch covers, and loosen light fixtures.
- Tackle the ceiling first if it’s being painted, before you cut in the walls.
Step 2: Clean the Walls
Paint won’t adhere well to dust, grease, or grime. Wipe walls down with a mild cleaner—paying extra attention to kitchens (grease) and bathrooms (soap film and mildew). Let everything dry completely. This single step prevents a surprising number of adhesion problems.
Step 3: Repair and Patch
Now fix the flaws that fresh paint would otherwise highlight.
- Fill nail holes, dents, and small cracks with spackle or joint compound.
- Address nail pops and larger damage properly (re-anchor, tape, and feather).
- Sand all patches smooth once dry.
- Wipe away sanding dust.
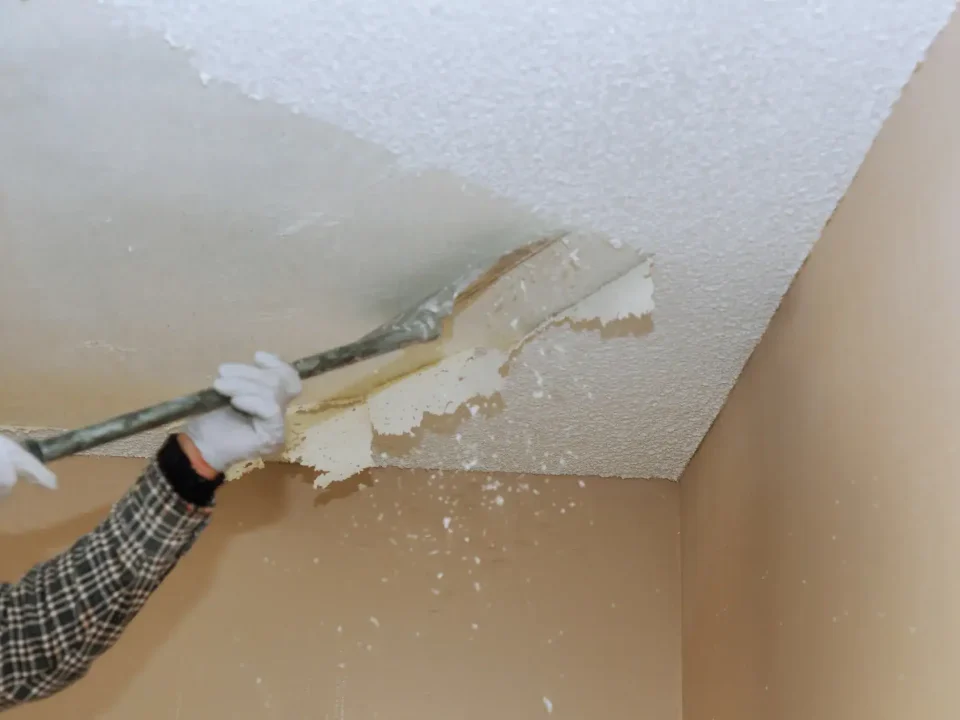
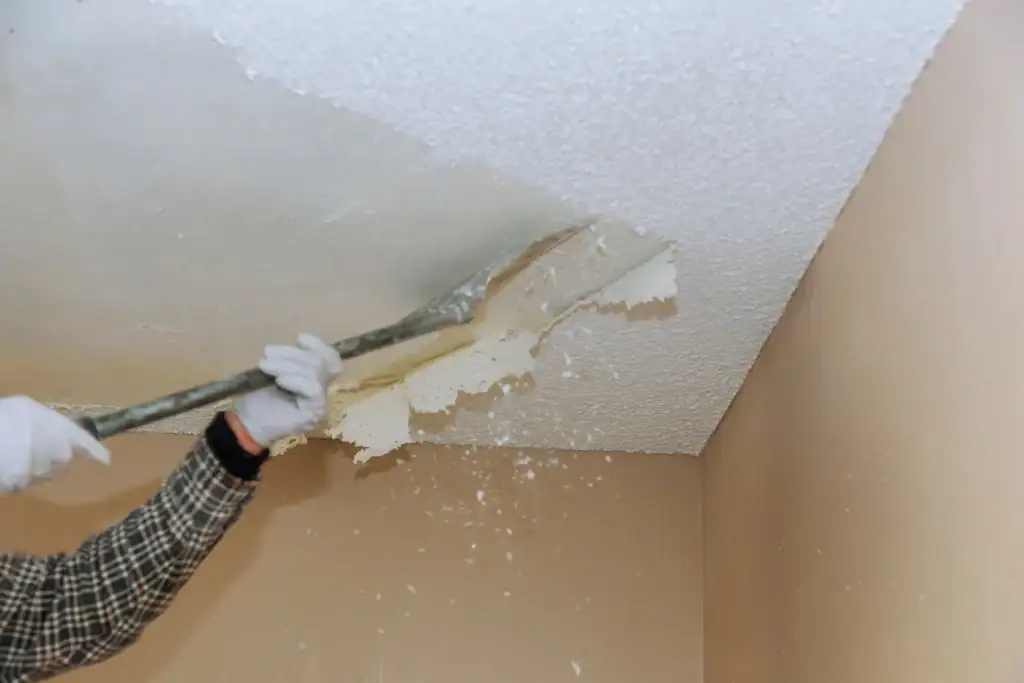
For anything beyond minor patching—recurring cracks, water damage, or large holes—professional drywall work first will save you headaches. Our guide on when to patch vs. replace drywall damage helps you judge the difference.
Step 4: Tape, Prime, and Set Up
The final prep steps set you up for clean, even results.
| Task | Why It Matters |
|---|---|
| Apply painter’s tape | Crisp lines along trim, ceilings, and edges |
| Caulk gaps | Seamless look where trim meets wall |
| Prime patches and stains | Even color and blocked stains/bleed-through |
| Set up ventilation | Faster drying and fewer fumes |
Priming is the step DIYers skip most often. Bare patches, stains, and big color changes all need primer to look uniform—patch and prime, don’t just patch.
A Quick Room-Prep Checklist
Before you open a can of paint, confirm you’ve:
- Cleared and centered the furniture, covered with plastic
- Laid drop cloths across the whole floor
- Removed outlet/switch covers and hardware
- Cleaned every wall and let it dry
- Patched, sanded, and dusted all flaws
- Taped edges and caulked gaps
- Primed patches, stains, and bare spots
- Opened windows or set up a fan
After Prep: Paint in the Right Order
Once the room is prepped, the order you paint in matters almost as much as the prep itself. Work from the top down so drips never land on finished surfaces:
- Ceiling first. Gravity sends spatter downward, so finish the ceiling before anything below it.
- Walls next. Cut in along the ceiling line, corners, windows, and door casings with an angled sash brush, then roll the open wall areas while the cut-in edges are still wet so they blend.
- Trim and baseboards last. They catch drips from the ceiling and walls, so painting them last covers any stray marks.
A few habits help the finish look professional. Stir paint thoroughly before you start, even if the store just mixed it, so the color stays uniform. Load the roller by dipping it partway into the paint and rolling it back on the tray’s ridges to spread paint evenly over the cover, then work from one end of the wall to the other so you don’t miss spots. If you’re making a big color change, ask for your primer to be tinted toward the finish color; it often means fewer topcoats.
When to Bring in a Pro
If your walls need significant repair, you’re short on time, or you simply want a flawless result without the labor, a professional handles all of this prep as part of the job—and it’s the prep that shows. For a broader look at what shapes a project, see the key factors that impact painting service costs. For extra homeowner tips, Sherwin-Williams offers helpful surface-prep guidance.
Prep Well, Paint Once
Learning how to prepare a room for painting is really about respecting the process: clear the space, clean and repair the walls, protect everything, and prime before you paint. Do the prep right and the painting is the easy, satisfying part—with results that look professional and last.
Want the prep and the paint handled start to finish? Explore our interior painting services in Frederick, and if you’re nearby, we also serve homeowners in Ballenger Creek.
Frederick Painting & Supply, Inc. proudly serves Frederick, MD and the surrounding communities of Urbana, Walkersville, Middletown, Braddock Heights, Ballenger Creek, and Spring Ridge. Call 301-473-4773 or visit our contact page to request a free, no-pressure estimate.
Frequently Asked Questions
How do you prepare a room for painting?
Clear and center the furniture, cover it and the floor, and remove outlet covers and hardware. Then clean the walls, patch and sand any flaws, tape the edges, caulk gaps, and prime patches and stains. Thorough prep is what gives you an even, professional finish.
Do I need to wash walls before painting?
Yes. Dust, grease, and grime prevent paint from bonding properly, leading to peeling and uneven coverage. Wipe walls with a mild cleaner—especially in kitchens and bathrooms—and let them dry fully before you patch, prime, or paint.
Should I prime before painting a room?
Prime bare patches, stained areas, and walls undergoing a big color change. Primer ensures uniform color, blocks stains and bleed-through, and helps the topcoat adhere. You don’t always need to prime an entire previously painted wall, but you should never skip priming fresh patches.
How long does it take to prep a room for painting?
It varies with the room’s condition, but prep often takes as long as—or longer than—the painting itself. A room needing only light cleaning and taping may take an hour or two; one with repairs, sanding, and priming can take most of a day.
Do painters move furniture and cover floors?
Professional painters typically handle protecting the space as part of the job—moving and covering furniture, laying drop cloths, and masking trim and fixtures. Homeowners are usually asked to remove small valuables and breakables beforehand, but the heavy prep is included.

Shawn Zimmerman started painting in the summer of 1991, the year before he graduated high school. Shawn decided to pursue his career in the family business and continued to develop his skills in the trade while also developing the necessary skills to manage the business. Shawn enjoys being outdoors, canoeing, camping, hiking, hunting, fishing and spending time with family.